 Greenland Orchard Journal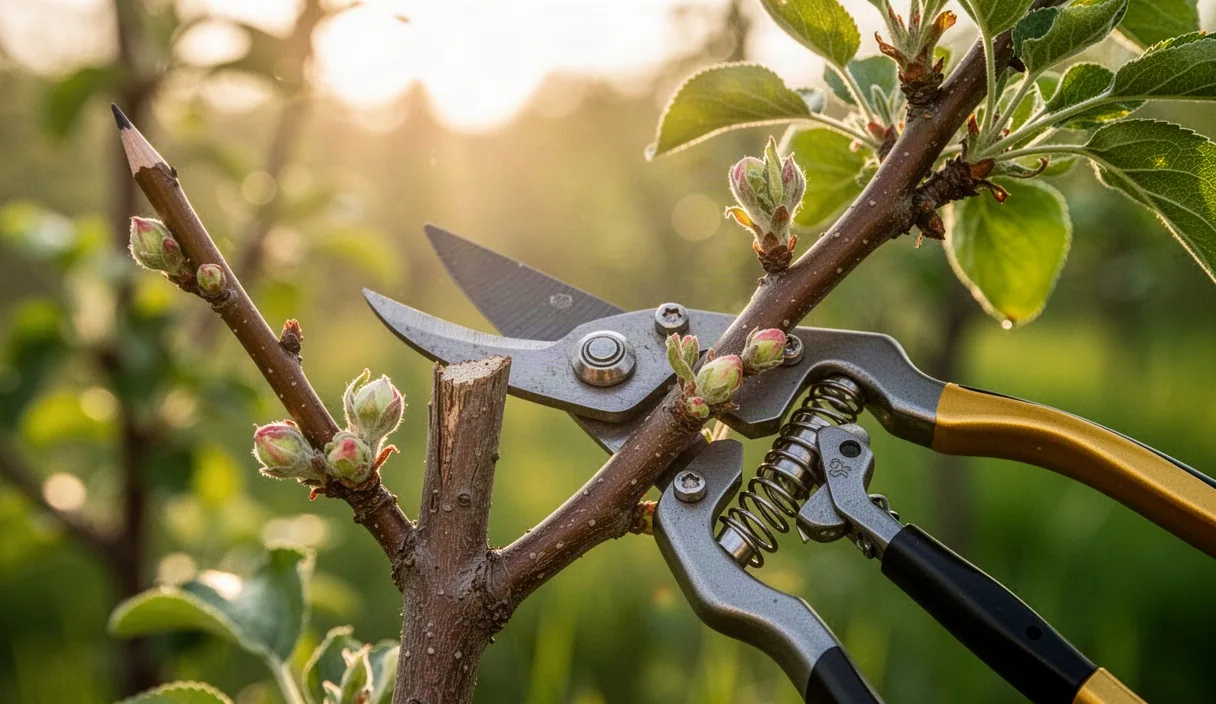
Walking through the nursery rows in late winter, we always stop to admire our two-year-old seedlings. They have survived their first full year in the ground, weathered summer heat, and spent the winter building thick, supple roots beneath the mulch. In this second spring, these young trees stand ready to explode with growth. How you handle them with your shears over the next few weeks will shape their structure, health, and fruit-bearing capacity for decades to come.
Pruning at this age can feel a little nerve-racking when you are holding the shears for the first time. It is completely normal to hesitate before making that first cut on a clean, healthy whip. We like to remind folks that gentle, decisive training right now saves you from heavy corrective sawing later. By focusing on five core structural tasks, you give your seedling the balance, sunlight, and air circulation it needs to grow into a resilient, productive tree.
Recognizing dominant leaders and competing shoots
A two-year-old fruit seedling naturally wants to grow upward as fast as possible. In that race toward the sun, it often produces several vigorous vertical shoots near the top of the stem. If you leave these shoots alone, they will fight each other for dominance. This creates narrow, V-shaped crotches that split easily under the weight of summer storms or heavy fruit crops later in life. Our first job in the orchard is to pick one clear central leader and manage any rivals.
The true leader should be the straightest, healthiest, and most vertical shoot extending from the main trunk. Look for firm wood, undamaged terminal buds, and a natural alignment with the central line of the tree. Competing shoots, often called co-dominant leaders, tend to emerge just below the tip. They may grow almost as tall as the main stem, shooting upward at a steep angle. Leaving two leaders creates a dual trunk system that weakens the internal wood structure as the tree thickens.
Once you select the shoot that will serve as the central trunk, inspect the immediate contenders. Any rival shoot growing at an angle steeper than 30 degrees from the trunk should be removed or shortened significantly. Subordinating a shoot means cutting it back to an outward-facing lateral bud, which checks its upward vigor and turns it into a side branch rather than a competing trunk. If a rival is growing directly alongside the leader with a tight wedge of bark between them, remove it completely back to the collar.
| Growth Characteristic | Central Leader Candidate | Competing Shoot to Subordinate or Remove |
|---|---|---|
| Orientation | Plumb, vertical, extends straight from trunk | Offset, angled steeply, runs parallel to trunk |
| Bud distribution | Plump, evenly spaced, healthy terminal bud | Crowded buds, clustered tightly near the apex |
| Crotch angle | Forms the main stem line | Narrow V-crotch under 35 degrees |
| Wood caliper | Thickest, sturdiest shoot in the top whorl | Slightly thinner or identical diameter to main stem |
Making clean cuts at proper angles outside buds
Every single cut you make opens a small wound on the tree. A young seedling closes these wounds quickly through callus tissue, provided you cut at the correct spot and angle. If you cut too close to a bud, you dry out the bud cushion and kill the emerging growth. If you cut too far above it, you leave a dead wooden stub that invites wood-decay fungi and wood-boring insects before it slowly rots away.
We aim for an angle of roughly 45 degrees, sloping down and away from the bud. The highest point of your cut should sit about 6 millimeters, or a quarter-inch, directly above the tip of the bud. The lowest point of the cut should align with the base of the bud on the opposite side of the stem. This slant allows rain and morning dew to run off the wound surface away from the bud itself, lowering the chance of moisture-borne fungal spores taking hold.
Proper tool maintenance makes all the difference here. Always use bypass pruners, where a sharp blade slides past a thicker counter-blade, rather than anvil pruners. Anvil tools crush the delicate cambium layer of young wood, stalling the support process. We keep a small diamond hone in our back pocket to touch up the blade edge after every few dozen trees, and we wipe the blades down with rubbing alcohol between rows to prevent spreading any latent fire blight or canker bacteria.
Executing the bud cut
- Locate a healthy, plump bud that points outward, away from the interior of the tree.
- Place the thin cutting blade of your bypass pruner against the side of the branch where the stub will fall, with the thick anvil hook on the discard side.
- Position the blade 6 millimeters above the bud tip, tilted at a 45-degree angle sloping away from the bud.
- Close the pruner handles with a smooth, decisive squeeze without twisting or tearing the bark.
- Check the cut surface to ensure the bark edge is clean and the wood shows a bright green ring beneath the brown exterior.
Balancing wide scaffold branch angles
Scaffold branches are the permanent structural limbs that will support your tree canopy and its fruit for decades. On a two-year-old seedling, you are selecting the very first tier of these limbs. We look for four or five well-placed shoots spaced around the trunk like the treads of a spiral staircase. You want roughly 15 to 20 centimeters of vertical space between each branch, ensuring they do not all emerge from the same point on the trunk, which can choke sap flow.
The angle at which a branch attaches to the trunk determines its lifetime strength. A branch that leaves the trunk at an angle between 45 and 60 degrees forms a strong bridge of interlocking wood fibers with a prominent branch bark ridge. Branches with wider angles produce fruit earlier in their lives because carbohydrate flow slows down, signaling flower bud initiation. In contrast, upright branches with tight angles simply produce more aggressive leaves and water sprouts.
If you have an otherwise well-positioned shoot that is growing too upright, you do not always need to prune it away. In its second spring, the wood remains soft and pliable. You can widen narrow angles using simple orchard tools before the wood hardens during the summer growth flush.
- Wooden spring clothespins: Clamp a clothespin to the main trunk directly above a young lateral shoot to gently force the shoot outward to a 50-degree angle.
- Wooden toothpicks: Gently wedge a rounded wooden toothpick between the trunk and the base of a young green shoot to widen the crotch during early spring growth.
- Notched wooden spreaders: Use short lengths of lath with V-notches cut into both ends to push older, stiffer two-year wood outward from the central trunk.
- Ties to ground stakes: Secure soft cotton twine to the middle third of a stiff branch and peg it lightly to the ground, taking care not to pull the wood past 60 degrees.
Removing crossing and inward-growing twigs
Sunlight is the engine that drives your orchard, but stagnant air is the spark that starts disease outbreaks. A dense, tangled tree canopy traps moisture from rain and morning fog. Fungal spores like apple scab, powdery mildew, and peach leaf curl thrive in damp, shaded pockets where leaves take hours to dry out. When pruning your two-year seedlings, work with the goal of keeping the center of the tree open to moving air and filtered sunlight.
Start by inspecting the interior space near the central trunk. You will often see thin, twiggy growth that sprouted late in the previous summer, heading directly back toward the middle of the canopy. These inward-pointing twigs will never become productive scaffold limbs. Instead, they quickly become an unruly thicket that rubs against structural wood. Whenever two branches rub together in a breeze, the bark wears away, creating an open gateway for wood cankers.
When you remove these interior and crossing shoots, make thinning cuts rather than heading cuts. A heading cut shortens a twig, which encourages multiple buds just below the cut to burst into bushy new growth. A thinning cut removes the branch entirely back to its point of origin at the branch collar, which is the swollen ring of wrinkled bark where the limb joins the trunk. Cutting just outside the branch collar preserves the tree's natural defense zone, allowing the wound to seal neatly without producing a brushy cluster of water sprouts.
- Cut away any branch that crosses over another branch or makes direct contact with adjacent bark.
- Remove downward-hanging twigs that receive little light and tend to produce small, shaded fruit.
- Prune out water sprouts, which are straight, unbranched shoots that point vertically upward from the tops of horizontal scaffolds.
- Thin out secondary twigs that grow inward toward the trunk, directing all new growth toward the outer perimeter of the tree.
Timing cuts right before bud break
Timing your spring pruning correctly protects your seedlings from both freezing injury and energy loss. In our region, the ideal window falls in late winter or early spring, just as the winter cold eases but before the buds burst open into leaf. During deep winter dormancy, a pruned seedling cannot seal its cuts. Sub-zero temperatures can penetrate fresh pruning wounds, killing the exposed cambium tissue and causing dieback down the stem.
Conversely, waiting until the tree has fully leafed out deprives the seedling of stored reserves. Over the winter, your young tree stores starches and nutrients down in its root system and thick lower trunk. As temperatures rise in early spring, the roots push these nutrients upward to fuel the first flush of spring leaves. If you wait until those leaves are half-grown before pruning, you cut away substantial tree resources that the root system worked hard to deploy.
The sweet spot occurs during the late dormant stage, often referred to as the silver tip or swollen bud stage. The buds have begun to swell visibly, pushing back their brown scales and showing a hint of gray fuzz or light green tissue. The bark on two-year wood feels slightly more flexible under your fingers, and sap pressure is just beginning to rise. Cuts made at this exact moment begin callusing over within days, as active cellular division restarts throughout the vascular cambium.
| Bud Stage | Visual Indicators | Pruning Suitability |
|---|---|---|
| Fully Dormant | Buds tight, small, dark brown; wood brittle | Wait; risk of freeze damage and slow support |
| Swollen Bud / Silver Tip | Buds enlarged, scales parting, pale fuzz visible | Ideal; rapid wound sealing and minimal energy loss |
| Green Tip (2 to 6 mm) | Leaf tips emerging cleanly from bud scales | Acceptable; finish structural work promptly |
| Leaf Emergence / Tight Cluster | First leaves unfolding, blossom clusters visible | Too late for heavy cuts; tree loses stored reserves |
Common mistakes to avoid
The most frequent mistake we see with young seedlings is topping the entire tree like a hedge. Pruning off the tips of every single branch stimulates a dense brush of upright shoots at the exterior of the canopy, shading out the lower scaffold limbs you want to build. Pruning should be selective: remove entire branches back to the collar, or cut a shoot back to a specific lateral bud to direct its direction of growth.
Another common misstep is leaving long, blunt stubs when removing side branches. Many growers worry that cutting near the trunk will hurt the tree, so they leave a two-inch piece of branch sticking out. That stub will die, dry out, and rot back into the main trunk, inviting fungal decay into the core heartwood. Always cut right outside the branch collar, but never make a flush cut that slices off the swollen collar itself.
Finally, avoid taking off too much wood in a single spring. A two-year seedling needs leaves to feed its expanding root system. Removing more than 25 percent of the total canopy can shock the tree, stunting its root expansion and triggering an explosion of defensive water sprouts. If a tree needs extensive correction, spread the work across two consecutive spring seasons.
Next steps for your young orchard
Once you finish your pruning cuts, gather all the trimmings from the ground and compost them or burn them away from the orchard. Twigs left beneath the trees can harbor overwintering fungal spores, aphid eggs, and wood-boring pests that will climb right back onto your seedlings as the soil warms.
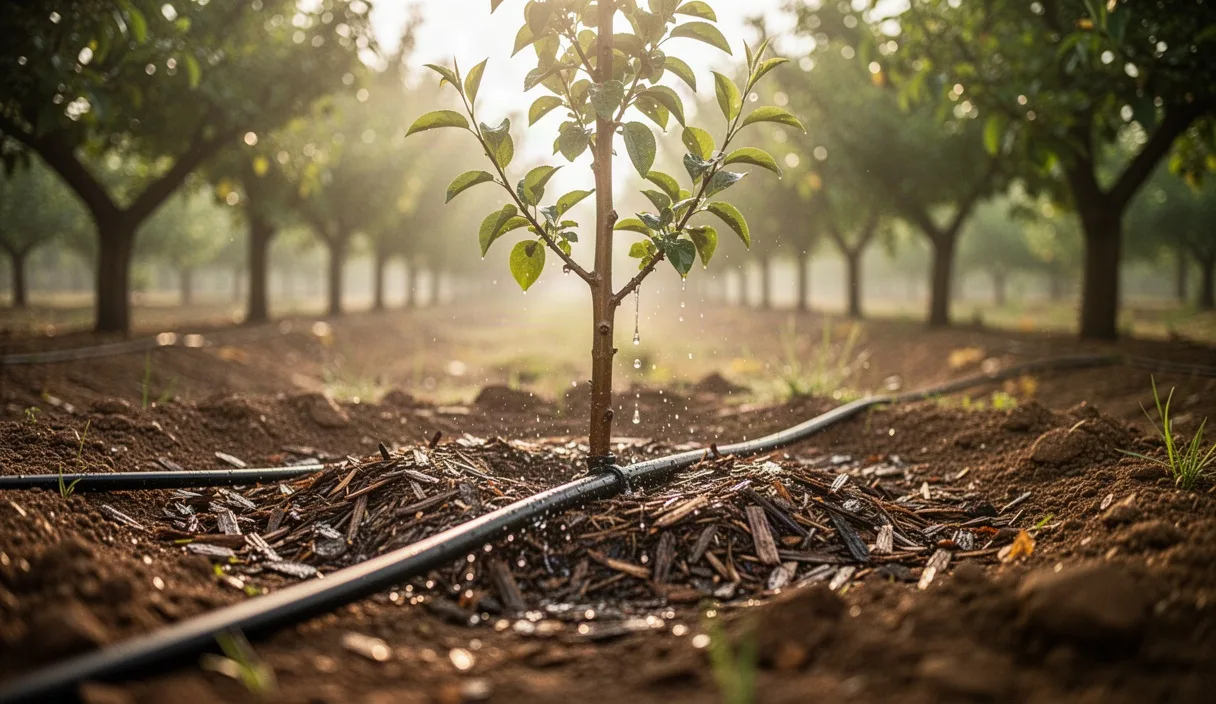
Check the base of each seedling to make sure rodent guards are intact and winter mulch has not piled up against the trunk bark. A clear space of about 8 to 10 centimeters between the trunk and your woodchip mulch keeps vole damage and crown rot at bay. If you encounter deep wood cankers, sunken dark patches on the trunk, or oozing sap that does not look like clean spring water, consult your local county cooperative extension agent or a certified arborist for guidance before doing any heavy corrective cutting.
With clean cuts made and branch angles set, step back and let the spring weather do its work. Over the coming months, keep the seedlings evenly watered, monitor them for early pest pressure, and enjoy watching their new scaffold branches fill out with vigorous, balanced growth.