 Greenland Orchard Journal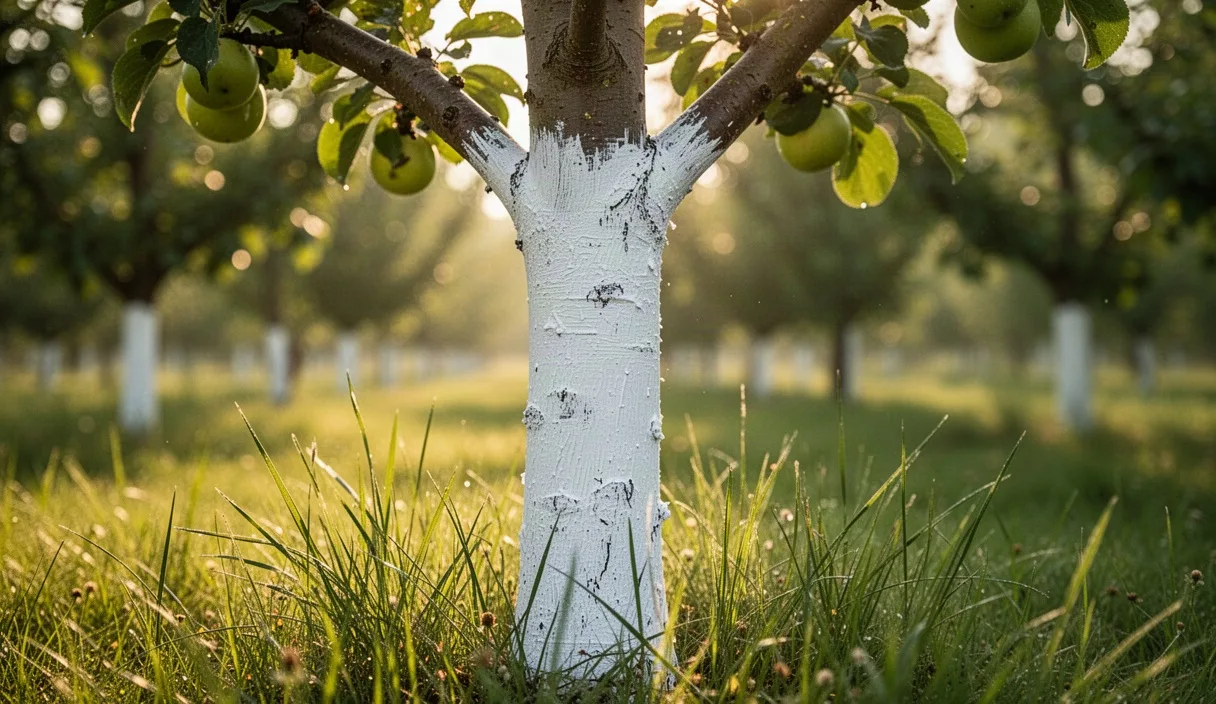
When you plant a young fruit or nut tree in your orchard or backyard garden, you put a lot of faith into that slender green stem. We spend months tending young roots, watching the first bud break in spring, and checking for growth after every steady rain. Seeing dark sunken bark or an amber bead of sap weep from a tender limb can be heartbreaking, especially when you realize fungal canker has settled into the cambium layer.
Fungal cankers are caused by pathogens such as Cytospora, Nectria, and Botryosphaeria that slip through small wounds, pruning cuts, or frost cracks in the bark. Young trees are particularly vulnerable because their outer protective bark is thin, and their root systems are still working hard to establish themselves. In our orchard, we have learned that keeping trees free of canker does not require synthetic chemical sprays or harsh systemic fungicides. By focusing on steady cultural habits, clean tools, and protective physical barriers, you can defend your nursery stock naturally and give those young trunks the sturdy start they deserve.
Identifying early wood discoloration and gum
The earlier you spot the first hints of canker, the easier it is to save the branch or central leader. In young stone fruits like cherries, peaches, and plums, canker often announces itself through gummosis. This is the tree's natural defense response, where it pushes a thick, jelly-like amber sap out through the bark to wall off infection. While mechanical injury can cause minor gumming, canker gum typically emerges from an area where the bark appears flattened, creased, or slightly darkened compared to the healthy green wood around it.
In pome fruits like apples and pears, gum is less common, but the visual cues in the bark are just as telling. You will usually notice an oval or elongated patch where the bark looks water-soaked or takes on a dull reddish-brown hue. As the fungus feeds on the living tissue underneath, that patch sinks slightly below the level of the surrounding wood. If you lightly scrape the very surface with a thumbnail or clean pocketknife, healthy inner bark should look vibrant yellow-green. Wood infected with fungal canker will show a rusty brown, dry discoloration that often smells faintly sour.
| Tree Type | Primary Early Symptom | Secondary Signs | Common Fungal Suspects |
|---|---|---|---|
| Stone Fruit (Peach, Cherry, Plum) | Amber or copper-colored gum pockets | Sunken, cracked bark collars around nodes | Cytospora leucostoma, Leucostoma cincta |
| Pome Fruit (Apple, Pear, Quince) | Flat, water-soaked bark patches | Papery peeling outer bark, tiny black pimples | Nectria galligena, Botryosphaeria obtusa |
| Nut Trees (Hazelnut, Walnut) | Sudden flag-wilting of tip leaves | Dark vertical fissures on two-year-old wood | Anisogramma anomala |
Keep a close eye on branch crotches and the areas just below old leaf scars. During the early spring warmup, take a notebook out to your rows once a week. Mark any questionable spots with a loose piece of cotton surveyor ribbon. By tracking whether that darkened patch expands over two or three weeks, you can distinguish a simple superficial scrape from an active fungal margin that needs immediate attention.
Sanitizing cutting tools between trees
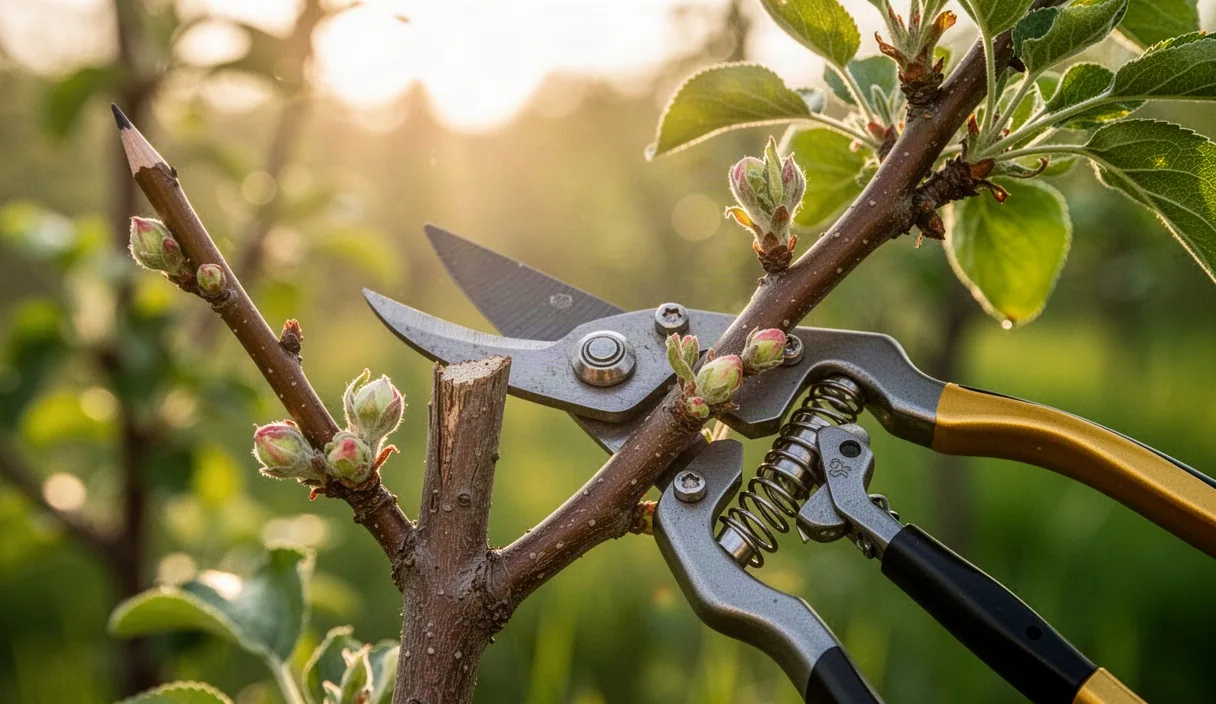
Pruning shears, loppers, and folding saws are the most common vectors for moving fungal spores from an infected tree straight into the vascular system of a healthy sapling. When a blade slices through a hidden pocket of fungal hyphae, sticky microscopic spores cling to the steel. The very next cut you make on an uninfected tree presses those spores directly onto freshly exposed, moist cambium cells. Establishing a strict cleaning habit is the cheapest and most effective insurance policy you can hold.
Many growers reach for standard chlorine bleach, but we avoid using bleach on our orchard hand tools. Bleach pits and corrodes fine carbon steel blades within a single season, and it degrades quickly when exposed to sunlight and organic dirt. Instead, keep a small lidded bucket or wide-mouth bottle filled with pure isopropyl alcohol, ethanol at 70 to 80 percent concentration, or an undiluted pine oil disinfectant. These liquids dissolve sticky plant resins, kill fungal structures within thirty seconds of contact, and will not rust your expensive shears.
- Dip or spray: Submerge cutting blades completely into your sanitizing solution, or thoroughly coat both sides of the blade with a spray bottle until the liquid runs off.
- Wipe away sap: Use a clean rag or coarse copper pad to remove gum deposits and wood shavings before wetting the steel, as sap can shield trapped spores from the disinfectant.
- Allow contact time: Give the sanitizer at least thirty seconds of wet contact time before making your next cut on another tree.
- Carry two pairs: In larger plantings, carry two pairs of pruners in your belt scabbard. Leave one resting in a sanitizing holster while you cut with the other, then alternate at every new trunk.
Do not forget your hands and gloves. If you are handling gummy peach limbs or scraping diseased wood, spores can hitch a ride on leather work gloves. Wash your gloves or switch to reusable rubber-dipped orchard gloves that can be wiped clean with an alcohol rag between trees.
Pruning only in dry sunny conditions
Fungi rely on moisture to reproduce and travel. The spores of most canker-causing organisms are water-borne or wind-blown in rainy mist. When rain hits an active canker, it releases thousands of microscopic spores that wash down the trunk or splash onto nearby limbs. If that splash lands on a wet, fresh pruning wound, the spore finds an ideal nursery: abundant water, exposed nutrients, and zero physical defense barriers.
We wait for clear weather windows before making any major cuts on young trees. You want at least forty-eight hours of dry, sunny weather following your pruning session, and seventy-two hours is even safer. Bright sunlight provides natural ultraviolet exposure that helps suppress airborne fungal spores, while dry winds encourage the tree to form a natural protective layer of suberin over the cut surface. Suberin is the tree's natural waxy sealant, and healthy saplings can begin forming it within hours under dry, warm conditions.
Timing your work according to seasonal growth habits makes a major difference as well. Winter pruning during deep dormancy is common practice for older apple orchards, but young trees, especially stone fruits, heal wounds much faster if pruned in late spring just as active growth starts. A tree with active sap flow pushes defensive enzymes toward the cut site, while a fully dormant winter tree sits passive with open wood channels for weeks before it can mount an immune response.
Avoid autumn pruning entirely. As trees move nutrients down to their root systems in October and November, wounds remain open throughout the cold, damp winter months. That wet dormancy is prime infection season for European canker and bacterial canker alike. Keep your shears in the shed until the cold hard freezes have passed and the buds begin to swell.
Applying lime-based trunk whitewash
Young trees have smooth, sensitive bark that easily falls victim to southwest injury, often called winter sunscald. On bright, freezing winter afternoons, direct sunlight warms the bark on the south and southwest sides of the trunk, coaxing the cambium tissue out of its cold hardiness. When the sun drops behind the horizon, the temperature of that exposed bark plunges rapidly, rupturing plant cells and leaving long vertical cracks. These freeze cracks become prime entry portals for canker spores the following spring.
A traditional lime-based whitewash shields young bark by reflecting solar radiation, keeping the trunk at an even, cool temperature through erratic winter days. Beyond temperature moderation, the natural alkalinity of calcium hydroxide creates an inhospitable surface environment for germinating fungal spores, which prefer a neutral or mildly acidic base to take hold.
Making a simple orchard whitewash
- Measure five parts hydrated builders lime (calcium hydroxide) into a clean plastic five-gallon bucket. Do not use agricultural lime (calcium carbonate), as it does not bind properly, and never use quicklime, which generates dangerous heat when wetted.
- Add one part fine horticultural grade salt to help the wash resist rain wash-off throughout early spring storms.
- Slowly pour in clean water while stirring with a wooden paddle until the mixture reaches the consistency of heavy pancake batter or thick whole milk.
- For extra adhesion on windy or rainy sites, stir in a quarter part of raw linseed oil or whole milk.
Apply the wash with a wide, stiff masonry paintbrush rather than a sprayer. Brushing forces the mineral wash into rough bark crevices, dormant bud junctions, and small soil-line creases where fungi hide. Paint the trunk from two inches below the soil line up to the first set of scaffold branches. Reapply a fresh coat in late autumn before the first hard freeze, and check the trunks again in mid-winter to touch up any spots washed clean by heavy rains.
Improving airflow through dense canopies
Stagnant, humid air within the tree canopy acts like an incubator for fungal organisms. When leaves and small twigs stay wet with morning dew for six or seven hours, canker spores have all the time they need to germinate and penetrate leaf scars. By training your young trees with an open, balanced branch architecture, you allow breezes to move freely through the canopy, drying morning moisture off the foliage in under an hour.
For pome fruits like apples and pears, we favor a modified central leader system with generous spacing between whorls of branches. For stone fruits like peaches and nectarines, an open-center or vase shape is ideal. The goal is simple: sunlight should be able to reach the interior trunk, and wind should pass through the limbs without meeting a solid wall of overlapping foliage. Sunlight is an exceptional natural fungicide, as prolonged exposure to ultraviolet light reduces the survival rate of exposed spores on the bark surface.
- Remove water sprouts early: Rub off vigorous, vertical shoots (water sprouts) in early summer while they are still soft and herbaceous. Snapping them off with your fingers leaves a tiny wound that seals within twenty-four hours, far cleaner than cutting them off with shears in winter.
- Widen branch angles: Use wooden orchard toothpicks or notched limb spreaders on one-year-old branches to push crotch angles out to roughly forty-five to sixty degrees from the central trunk. Wide branch unions form strong, rounded bark collars that shed water naturally, whereas narrow, tight V-crotches pinch inward, trap moist bark debris, and split easily under crop weight.
- Manage ground vegetation: Keep tall grass and broadleaf weeds mowed down or mulched back at least two to three feet from the base of the trunk. High, damp grass wrapped around the bottom eight inches of a trunk creates a humid microclimate that softens bark and invites collar canker.
When you reduce the humidity around the bark, you take away the moisture film that pathogens require. Good spacing between individual trees matters just as much: never crowd young saplings closer than their rootstock vigor recommends, or you will create a continuous hedge of stagnant humidity that spreads trouble down the entire row.
Treating small bark lesions before they spread
Despite your best efforts, a stray hailstone, an errant mower strike, or an insect bite can puncture young bark and allow a small canker lesion to begin. If you catch a lesion when it is smaller than a silver dollar and covers less than a third of the branch circumference, you can often arrest its progress through careful surgical cleaning and natural topical dressings.
Work on a warm, clear morning when rain is absent from the forecast for several days. Take a sharp, curved linoleum knife or a clean wood carving gouge. Disinfect the blade in alcohol before touching the tree. Carefully shave away the dead, discolored bark over the lesion, working outward until you hit clean, firm, pale-green cambium on all sides. Shape your cut into an upright ellipse with pointed top and bottom tips; this oval shape encourages sap to flow smoothly around the edges of the wound, speeding up the formation of healthy callus tissue.
Collect all the diseased bark shavings on a piece of cardboard or plastic tarp laid beneath the tree. Never let those infected chips fall into the mulch, where fungal spores can survive and re-infect the tree during the next rain. Carry the scrapings directly to the burn pile or seal them in a trash bag off-site.
Once you expose clean margins, do not paint the wound with thick petroleum-based tar or asphalt pruning paints. Research has shown that heavy petroleum dressings trap internal moisture against the wood, creating a dark, damp chamber where remaining fungal hyphae flourish undetected. Instead, mist the raw wood with a mild natural copper soap solution or an organic sulfur spray, then allow the open air to dry the surface completely. If you need a physical barrier against borers or splashing mud, apply a thin coat of raw beeswax blended with a few drops of tea tree oil or a breathable slurry of pure kaolin clay. These natural coverings protect the exposed interior wood while still allowing the plant tissue to breathe and knit shut.
Common mistakes
In our years working with young plantings, we see growers repeat a few understandable mistakes that unintentionally invite canker into their rows. Watch out for these common missteps:
- Pruning flush against the trunk: Cutting off the swollen branch bark collar removes the tree's natural support zone. Always cut just outside the branch ridge and collar, leaving that small raised ring intact to roll callus wood across the gap.
- Leaving long branch stubs: Leaving a two-inch dead peg when removing a branch prevents the wound from closing. The stub dies back, rots, and serves as an open highway for fungal pathogens to march straight into the main trunk.
- Over-fertilizing with quick-release nitrogen: Dumping synthetic, high-nitrogen fertilizers around young trees stimulates rapid, soft, watery growth with thin cell walls. Fungal hyphae penetrate this tender, lush tissue with almost no resistance. Use balanced, slow-release compost instead.
- Relying on wound paints: Slathering heavy black tree paint over dirty, uncleaned wounds locks active fungal spores inside the living wood where no airflow can reach them.
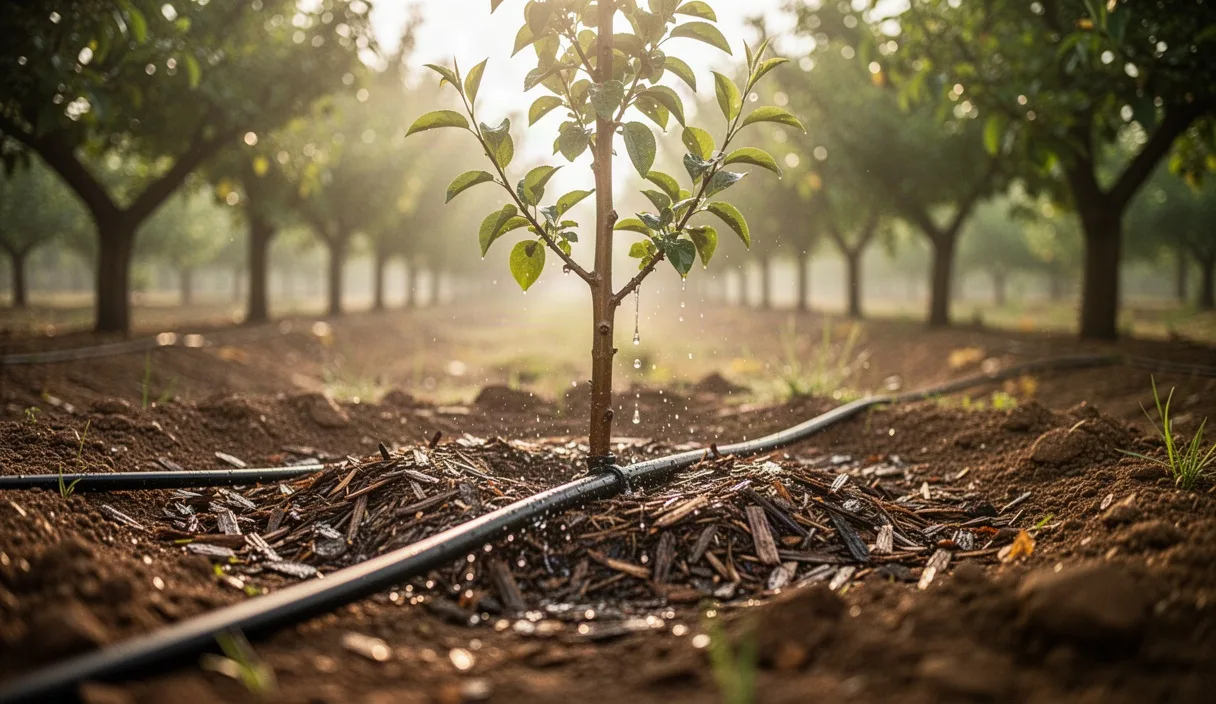
- Mulching against the root flare: Piling wood chips up against the bark like a volcano holds dampness against the trunk collar, softening outer tissues and encouraging crown rot and cankers at ground level. Keep mulch four inches away from the wood.
Practical next steps for your orchard
Start your prevention routine this week by walking your young tree rows with a sharp eye and a roll of marking ribbon. Inspect the lower eighteen inches of every trunk, looking for early sap drops, bark discolorations, or frost cracks from this past winter. Note any limbs that cross through the center of the canopy and need structural correction later in the season.
Next, assemble your clean-pruning kit. Find a sturdy holster for your hand shears, a squeeze bottle of alcohol, and clean rags. Put these tools in a dedicated basket so you never feel tempted to grab dirty shears from the shed for a quick cut while walking the orchard. If you notice structural dead wood, check your regional weather forecast, pick a clear window with three rain-free days ahead, and make your corrective cuts cleanly outside the branch collars.
Finally, inspect the bases of your saplings. Pull back any mulch that touches trunk bark, clear out dense weeds, and mix up a fresh batch of lime whitewash if your young trees have bare, unprotected stems facing south. If you discover a deep, weeping canker that has already encircled more than half of a main central trunk, do not hesitate to contact your local university agricultural extension office or a certified arborist. An experienced professional can help you decide whether a structural trunk renewal cut is viable or if the sapling should be replaced to protect the rest of your young orchard.