 Greenland Orchard Journal
If you have ever tried to push a spade into damp spring ground only to pull up a heavy, slick gray wedge that clings like glue, you know what heavy clay feels like. Here at our nursery, we hear from growers every season who worry that their ground is simply too thick and sticky to ever grow a productive apple tree. Clay has a reputation for choking out young roots and drowning rootstocks in cold spring puddles, but it also holds more mineral nutrients and retains moisture better than sandy loam ever could.
You do not need to haul in tons of outside dirt or hire a massive earth-moving crew to get started. What you do need is a clear strategy that respects how water moves through dense soil. Over the years, we have planted thousands of maiden trees on challenging sites, and we have learned that working with clay requires patience, good timing, and a light touch. With some thoughtful groundwork completed before your bare-root trees arrive, you can give young apple roots the loose, oxygen-rich environment they need to establish quickly.
Assessing seasonal drainage and water pools
Before you purchase trees or lay out your rows, you need to understand where water sits on your land across different months. Heavy clay soils expand when saturated, sealing off the tiny pore spaces between mineral plates and leaving no room for root respiration. Apple roots can survive brief saturation during winter dormancy, but standing water during active growth in April or May can kill fine feeder roots within three to four days. We recommend walking your proposed planting ground immediately after a steady rain of at least one inch to map surface pools with flags or garden stakes.
Beyond surface pooling, you should test the internal drainage rate by conducting a simple percolation test across multiple points in the field. Dig three or four test holes across your site, each measuring 12 inches wide and 15 inches deep. Fill each hole to the brim with water and let it soak in completely to pre-saturate the clay, which mimics mid-spring soil moisture. Fill the hole a second time, set a wooden ruler vertically against the side, and record the water drop every 60 minutes for four consecutive hours.
| Infiltration Rate per Hour | Drainage Condition | Required Ground Action |
|---|---|---|
| Less than 0.5 inches | Severe restriction | Install French drains, use raised berms, choose water-tolerant rootstocks |
| 0.5 to 1.5 inches | Slow clay drainage | Construct gentle planting mounds and establish deep taproot cover crops |
| 1.5 to 2.5 inches | Adequate drainage | Standard mound preparation with light compost surface integration |
If your test hole drops less than half an inch per hour, standard planting in flat ground will likely lead to collar rot (Phytophthora cactorum) or stunted growth. In these spots, you should also take note of nearby ditches, low pastures, and hardpan layers. If water remains in the hole past twenty-four hours, you may need a civil drainage contractor to assess whether a French drain or swale system can safely redirect seasonal runoff away from the orchard block.
Subsoiling without flipping topsoil layers
One of the biggest mistakes we see on heavy clay ground is deep rototilling or turning the soil over with a moldboard plow. When a spinning tiller blade hits damp clay, it smears the wet particles together and polishes the bottom of the trench, creating an artificial hardpan that acts like glazed pottery. Instead, your goal is to fracture dense lower horizons while keeping your thin, active layer of organic surface soil right where it belongs: on top.
Subsoiling, also called ripping, uses a narrow steel shank dragged through the subsoil at a depth of 16 to 22 inches. The curved foot of the ripper lifts and shatters the dense clay laterally without inverting the layers. This creates vertical fissures that give surplus autumn and spring water an exit path down into deeper subsoil aquifers. You should always run subsoiling equipment along the natural contour of the slope or slightly angled toward your drainage outlets so water can move along the newly opened seams.
Timing this task is critical. You must wait until the clay is friable and relatively dry, which usually occurs in late summer or early autumn. If you subsoil when the clay is wet, the shank will merely cut a smooth, narrow slit that seals shut behind the tractor. If you pull up a handful of soil from a depth of ten inches, roll it between your palms into a thin ribbon, and it bends easily without snapping, the ground is too wet to rip. Wait for a dry spell until that ribbon crumbles under light finger pressure.
Creating gentle mounds for root breathability
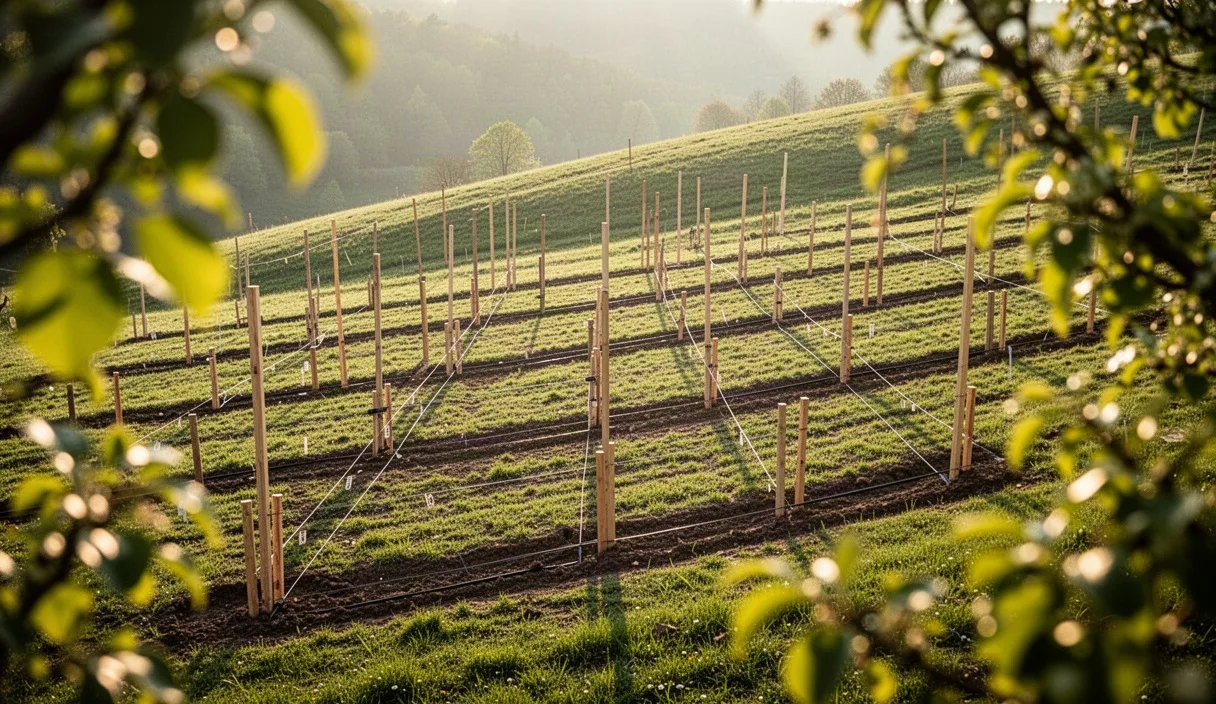
Building raised planting mounds, sometimes called ridges or berms, provides young trees with an immediate zone of aerated soil above the saturated water table. When spring rains turn your field pathways to soup, a raised mound keeps the root flare and upper nursery roots clear of the mud. Over time, as the tree establishes, its anchor roots will push down into the fractured subsoil, but the crucial early root activity stays well-oxygenated in the elevated zone.
We recommend creating mounds that are broad and low rather than narrow and peaked. A narrow mound tends to dry out too quickly during July heat and suffers from rain erosion during autumn storms. Aim for a mound that sits 8 to 12 inches above the native grade, measuring approximately 36 to 48 inches across at the base. You can throw soil inward toward your tree rows using a two-disc furrower or a tractor-mounted back blade, working both sides along the row line.
- Mark your row centers using builder line and wooden stakes, spacing rows at least 14 to 18 feet apart depending on rootstock choice.
- Make a light pass with a pasture harrow or shallow offset disc to loosen the upper three inches of topsoil along the alleys.
- Push that loose topsoil toward the center line from both sides, building up a rounded, flat-topped ridge down the length of the row.
- Walk the crest of the mound to lightly tamp loose pockets, leaving a firm but uncompacted surface ready for autumn planting.
If you run drip irrigation lines, you can lay your poly tubing directly along the shoulder of these mounds. The slight elevation helps water disperse evenly down through the profile rather than pooling directly against the bark of the trunk, which significantly lowers the risk of crown rot.
Adding mature compost and cover crops
Raw organic matter must be blended into clay cautiously. Dumping fresh, un-decomposed manure or thick sawdust into heavy ground creates anaerobic pockets that smell sour and tie up nitrogen. Instead, rely on fully cured compost that has finished its heat cycle and smells like a forest floor. You want compost with a carbon-to-nitrogen ratio between 15:1 and 25:1, which feeds native earthworms and soil microbes without drawing nitrogen away from tree roots.
Apply compost across the planting row at a rate of roughly 1.5 to 2 bushels (or about two cubic feet) per ten linear feet of row before building your mounds. As you push the surface soil inward to form the mound, this compost blends naturally throughout the top eight inches. Earthworms will feed on this distributed organic material, burrowing back and forth between the compost and the dense subsoil, which coats their tunnels in organic residues and creates stable natural drainage channels.
Once your mounds are shaped in late summer or early fall, immediately sow a temporary cover crop to protect the soil from heavy rains. Raindrops striking exposed clay shatter the surface aggregates, forming a tough crust that repels water and prevents seedling emergence. A balanced orchard cover mix can be broadcast directly over the mounds:
- Daikon or tillage radish (4 pounds per acre): The thick taproot drills through dense clay layers up to 18 inches deep, rotting over winter to leave open drainage channels.
- Crimson clover (8 pounds per acre): Establishes quick ground cover, fixes atmospheric nitrogen, and attracts beneficial insects in late spring.
- Winter rye (30 pounds per acre): Produces a deep, fibrous root mat that holds your new mounds together through heavy winter rains.
In the spring, about three weeks before planting your trees, mow this cover crop down and let the residues sit on the surface as an initial protective green blanket.
Digging wide shallow holes for nursery stock
When planting time arrives in late winter or early spring, forget the old gardening advice that says you must dig a deep, square hole and fill it with potting soil. In heavy clay, a deep hole filled with loose potting soil acts like a ceramic bathtub. Water runs easily through the porous potting mix and hits the impermeable clay walls, pooling at the bottom and suffocating the lower roots. The tree must learn to grow in your native ground from the very first week.
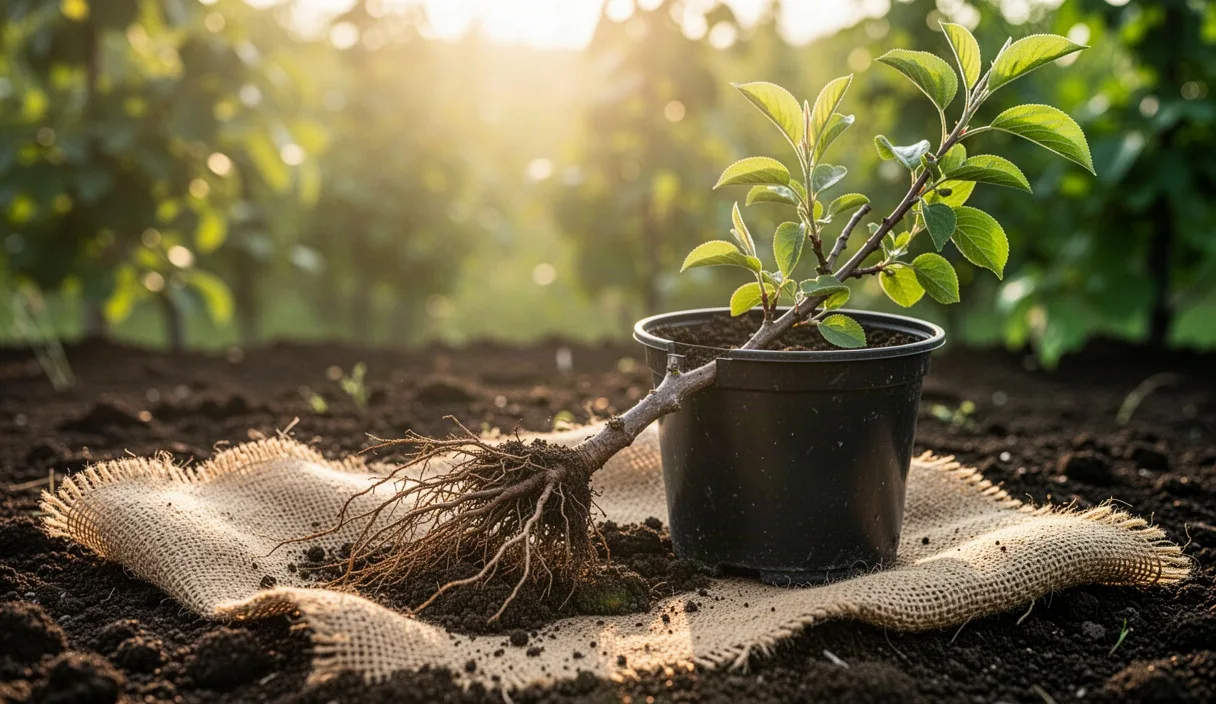
Dig your hole only as deep as the root system itself, but make it twice as wide as the spread of the roots. For a typical maiden bareroot tree on an M.26 or MM.106 rootstock, that means digging about 10 to 12 inches deep and 24 to 30 inches wide. Use your shovel or garden fork to score and rough up the sides of the hole. If you use a mechanical post-hole auger on a tractor, it will leave a glazed, hard clay wall inside the hole; you must scrape those walls with a hand pick to break the slick glaze so young roots can break through.
Set the tree in the hole on a firm, undisturbed pedestal of native soil so it does not settle deeper over time. Position the graft union at least 3 inches above the final soil line. If the graft union sinks below the dirt, the scion variety will throw out its own roots, causing the tree to lose the dwarfing characteristics of the rootstock. Backfill the hole exclusively with the native soil you removed, breaking up clumps with your shovel blade. Tamp the backfill gently with your boot heels to eliminate air pockets, then soak the root zone with 4 to 5 gallons of water to settle the soil naturally.
Mulching protocols for the first summer
Clay soil expands during rainy spells and shrinks dramatically during dry summers, pulling apart into deep cracks that expose feeder roots to hot, drying air. Mulch is your best defense against this cracking, but applying it incorrectly can invite rodents and fungal diseases. A disciplined mulching routine keeps the soil surface moist, cool, and attractive to earthworms while protecting tender nursery bark.
We prefer clean, coarse wood chips or shredded bark over fine materials like grass clippings or straw. Fine clippings mat down into an impermeable layer that blocks water infiltration, while agricultural straw often carries weed seeds and creates an ideal nesting habitat for meadow voles. Spread your coarse wood chips across the width of the mound, maintaining a depth of 3 to 4 inches. This thickness prevents weed seed germination and cuts down evaporation loss by more than forty percent.
Keep the mulch pulled back at least 6 inches away from the tree trunk. When damp mulch rests against the bark of a young apple tree, it softens the cambium layer and creates a dark, moist entryway for crown rot pathogens and wood-boring insects. In addition, field mice and voles will chew through the tender bark beneath the mulch cover during dry spells. Installing a rigid quarter-inch wire mesh hardware cloth guard around the base of the trunk provides vital physical protection that mulch alone cannot supply.
Common mistakes to avoid
We see growers run into the same handful of traps when dealing with clay soils. Keeping an eye out for these missteps will save you years of slow growth and replanting effort.
- Amending individual planting holes: Mixing peat moss or pure potting soil into the planting hole creates a drainage sponge. Always backfill with native soil and add compost only to the broader surface layer.
- Working clay when it is wet: Driving tractors or walking heavily over damp clay causes compaction that takes years of biological action to undo. If soil sticks to your boots in thick clods, stay out of the rows.
- Planting the root flare too deep: Apple trees breathe through their root crowns. Placing the graft union or upper root flare below the clay line encourages crown rot and scion rooting.
- Relying entirely on chemical fertilizers: Synthetic granular fertilizers do not improve soil structure. Clay needs organic carbon from compost and mulches to build crumbly, water-stable aggregates.
- Piling mulch into volcano shapes: Heaping mulch high against the trunk suffocates bark tissues and invites girdling by rodents. Always leave an open gap around the trunk.
Getting started this season
Preparing heavy clay takes a bit of foresight, so begin your field work months before your trees ship from the nursery. If you plan to plant bareroot apple trees in late winter or early spring, begin assessing your drainage patterns and mapping pools during the wet spells of late spring this year. Schedule your subsoiling passes for late summer when the ground is dry and brittle, then construct your mounds and seed your cover crop mixture immediately afterward in early autumn.
By the time your dormant trees arrive in the damp days of February or March, your planting mounds will have settled, the cover crop roots will have begun opening channels in the subsoil, and your native clay will be ready to support vigorous growth. Take your time with the soil preparation now, and your orchard will reward you with deep-rooted, drought-resilient trees for decades to come.