 Greenland Orchard Journal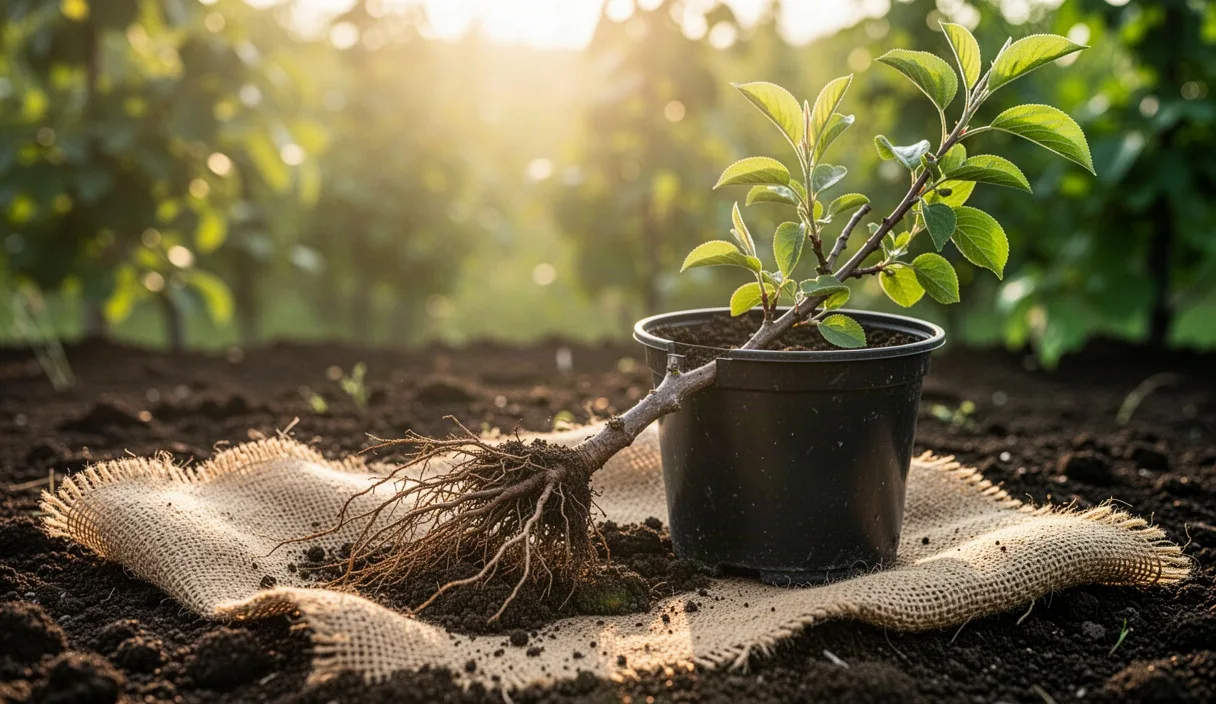
Every winter, when the nursery catalogs arrive at our packing shed, we sit down with a cup of coffee and debate the same choice orchardists have faced for generations. Should we order bundles of dormant bare-root whips, or should we pick up potted container trees from our local greenhouse supplier? Both options have put plenty of good fruit on our tables, yet they behave quite differently once you get them into the dirt.
Choosing between bare-root and container-grown stock comes down to your planting calendar, your budget, and how much time you can spend nursing young trees through their first summer. A bare-root sapling looks like little more than a dead stick with whiskers when it arrives in damp sawdust, while a container tree gives you instant green foliage and branch structure. Behind those first appearances lies a set of physical traits that directly affect root growth, watering routines, and long-term tree health. Let us walk through the practical details so you can decide which stock fits your ground best.
Inspecting root structure and taproot health
The single greatest advantage of bare-root stock is complete visibility. When you pull a bare-root apple or pear whip from its packing moss, you can inspect every lateral branch and fibrous feeder root without guessing what lies beneath the soil. You want to see a well-balanced network of flexible roots spreading in all directions, free of dark rot, soft spots, or severe breaks. A healthy taproot should be firm and straight, without the tight kinks that happen when a seedling hits the flat bottom of a shallow nursery bed. If you spot broken tips from the digging spade, make a clean, angled cut just above the damage using sharp bypass pruners before the tree goes into the ground.
Container trees hide their root systems inside potting medium, which presents a different set of challenges. When a tree spends an extra season in a black plastic pot, the vigorous outer roots hit the smooth container wall and turn, forming tight spirals. If you drop a root-bound tree straight into a planting hole without correcting those circling roots, they will continue to circle rather than expanding outward into native soil. Over four or five seasons, those circling roots can girdle the main trunk and choke off nutrient flow.
Before planting any container-grown tree, slide the root ball out of the pot and check the outer surface. If you see a dense, felted mat of roots wrapping around the perimeter, you must disrupt that pattern. We use our fingers or a hand cultivator to tease out the outer two inches of root mass. For severe cases, use a sharp utility knife to make three or four shallow vertical slices about one-quarter inch deep down the sides of the root ball, followed by an X-shaped cut across the bottom. This slicing encourages the root tips to produce fresh, outward-facing branch roots that anchor firmly into your orchard topsoil.
Pay close attention to the root flare, which is the point where the trunk widens as it meets the uppermost roots. Nursery pots often collect extra potting mix or mulch around the base of the trunk during shipping and display. Brush away that excess mix until the natural flare is fully exposed. On bare-root trees, locating the root flare is straightforward because there is no soil to conceal it. Keep the graft union, which looks like a noticeable knob or dogleg scar on the lower stem, at least two to four inches above your finished soil grade on both types of stock.
Ideal planting windows for each stock type
Bare-root trees must be planted during full winter or early spring dormancy, before bud swell begins. In our region, this window usually opens as soon as the soil thaws in late February and closes firmly by early April. Because bare-root seedlings have no soil protecting their root tips, they cannot handle warm, dry air or actively growing leaves while settling in. The goal is to get the root system established in cold, moist soil while the canopy is completely asleep. If your ground is still frozen solid or waterlogged into muck when your bare-root shipment arrives, you must heel them in by digging a temporary trench in a shaded garden corner, laying the roots inside, and covering them loosely with damp sawdust, compost, or soil for up to three weeks.
Container seedlings offer far greater flexibility with your schedule. Because their root system sits inside an intact block of potting soil, you can set them out from early spring straight through late autumn. They work well for orchardists who missed the brief early spring bare-root window or who want to replace a failed tree in mid-June. However, planting during the heat of midsummer requires constant vigilance with irrigation, since a leafed-out tree loses water rapidly through transpiration while trying to send new roots across the container-soil boundary.
Late autumn, between October and mid-November, represents an excellent second window for container trees in regions where winter temperatures remain moderate. The soil retains its summer warmth, encouraging root expansion even as the leaves drop, while lower air temperatures reduce moisture stress on the branches. Just make sure you get container stock into the earth at least six weeks before your area experiences a sustained, hard ground freeze so the roots can anchor properly against frost heaving.
Water requirements during early establishment
Water management looks quite different for these two stock types during the first sixty days in the orchard. Bare-root trees require immediate rehydration before they ever touch your field dirt. As soon as you unpack your shipment, submerge the roots in a tub of clean, cool water for three to six hours. Do not leave them soaking for more than twelve hours, as roots need oxygen and can suffocate if submerged too long. At planting time, settle the backfill soil around bare-root stock using five to seven gallons of water poured slowly to collapse underground air pockets.
Container trees arrive with their root balls already moist, but their potting substrate creates a unique water management problem called the potting soil interface effect. Nursery container mix consists mostly of peat moss, pine bark, and perlite, which dries out much faster than native clay or silt loam. When you plant a container seedling, surrounding native soil can actually pull moisture away from the porous container core like a sponge. Conversely, during light rains, water may flow around the dense root ball into the looser native soil without wetting the central root zone at all.
To keep young trees hydrated throughout their first growing season, follow a disciplined watering schedule based on tree type and seasonal rainfall:
- Bare-root trees: Provide five gallons of water per tree once every seven to ten days if natural rainfall drops below one inch per week. Increase this to five gallons every five days during dry spells above eighty-five degrees Fahrenheit.
- Container trees: Apply three to four gallons directly over the original root ball every three to four days for the first month. Gradually widen the watering circle over the summer to encourage roots to move past the potting soil boundary.
- Soaker hoses and drip lines: Position emitters directly over the root zone for bare-root stock, but place emitters both on top of the original potting plug and four inches outside the edge for container trees.
A good rule of thumb for checking soil moisture is the screwdriver test. Push a six-inch steel screwdriver into the soil near the drip line of the seedling. If it slides in smoothly with moderate hand pressure, your moisture level is adequate. If it stops short or requires your full body weight, the soil has hardened and needs a slow, deep soaking.
Soil settling differences and stake placement
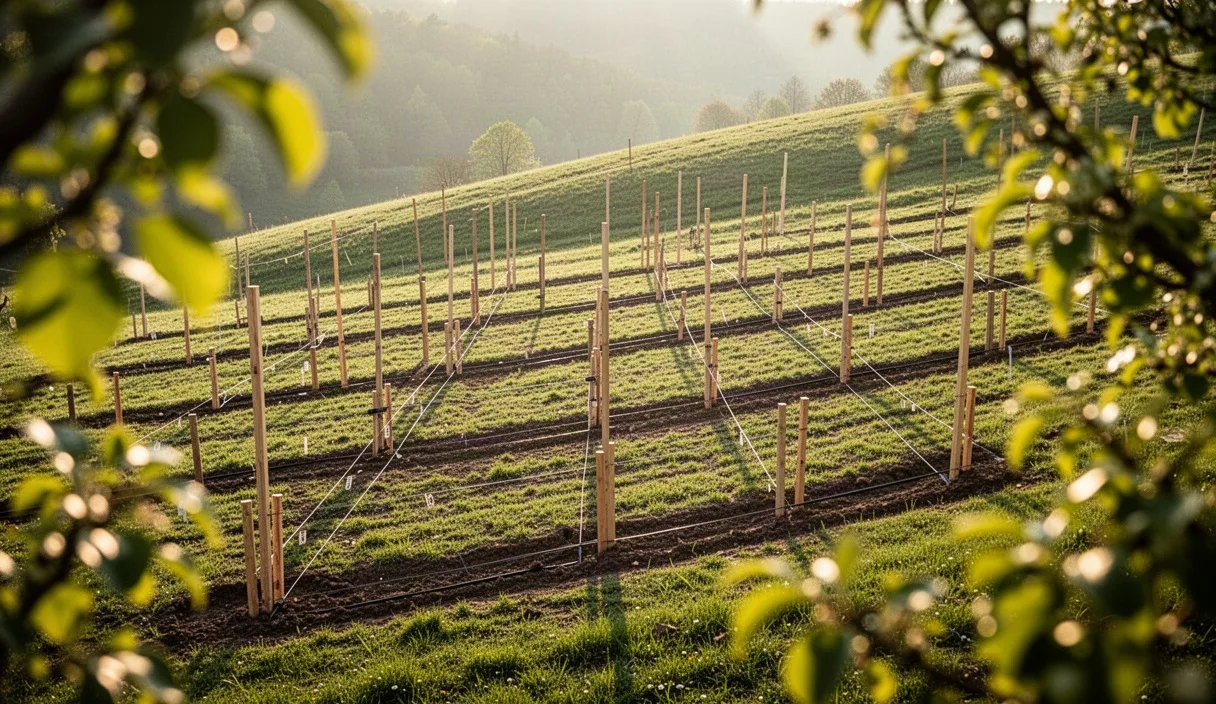
When you dig a planting hole for a bare-root tree, you excavate a wide, shallow basin and build a cone of native soil in the center. The roots are draped down the sides of this cone. Because you are working with loose, native soil across the entire width of the hole, settling occurs evenly across the root zone. You should pack the soil firmly with your boot soles in three separate layers as you fill the hole, which limits deep settlement to roughly one-half inch after your first heavy soaking.
Container holes behave differently because the root ball sits on solid, undisturbed earth at the bottom of the excavation. Make sure you do not dig the hole any deeper than the height of the root ball itself. If you dig too deep and backfill under the root ball, the heavy container core will sink over the summer as that loose earth compresses. That sinking drags the graft union down toward the soil surface, exposing scion wood to soil-borne pathogens and encouraging the upper tree to form its own roots, which cancels the dwarfing effect of your chosen rootstock.
Staking keeps wind from rocking the young tree and tearing tender, newly formed root hairs. The method you choose must match the root architecture of your stock type:
- Staking bare-root trees: Drive a single heavy wooden or metal conduit stake two feet into the native ground at the edge of the hole before you drape the roots. Driving the stake first prevents you from accidentally hammering it through a main lateral root. Secure the trunk to the stake twelve to eighteen inches above ground level using wide, flexible rubber tree ties.
- Staking container trees: Use two stakes placed eighteen inches outside the perimeter of the root ball on opposing sides, aligned with your prevailing wind direction. Driving stakes directly through a container root ball can fracture the root plug and break the connection between roots and potting soil. Fasten the trunk between the two stakes with soft canvas straps, leaving two to three inches of gentle sway so the tree produces reaction wood and develops a strong, sturdy trunk taper.
Cost versus growth rate over three seasons
Price differences between bare-root and container trees can substantially change your overall budget, especially if you are planting a home orchard of ten to twenty trees. Bare-root whips usually run between twenty-two and thirty-four dollars each when ordered through commercial fruit tree nurseries. Container trees of the same fruit cultivar usually range from forty-five to seventy-eight dollars at regional garden centers, driven by the extra shipping freight, container plastics, and nursery watering labor.
In the first season, container trees appear to hold a wide lead. Because they arrive with branched crowns and intact root plugs, they push leaves immediately and show strong early spring foliage. Bare-root whips spend their initial eight to twelve weeks building root tissue underground before sending out moderate top growth, often ending season one with fewer branches and shorter overall height than their container counterparts.
By the second and third seasons, the growth rates often reverse. A bare-root tree whose roots were spread naturally in native soil expands its root volume across a wide area without encountering structural boundaries. Container trees frequently experience a period of transplant shock in year two as their roots finally transition out of the loose potting mix into heavier orchard subsoil. By the end of season three, bare-root trees typically catch up to or outgrow container stock in both trunk caliper and total canopy volume.
| Comparison Factor | Bare-Root Seedling | Container Seedling |
|---|---|---|
| Average Purchase Cost | $22 to $34 per tree | $45 to $78 per tree |
| First Season Growth | Slow top growth, strong root initiation | Rapid canopy display, delayed root expansion |
| Second Season Growth | Vigorous shoot extension (18 to 26 inches) | Moderate shoot extension (12 to 18 inches) |
| Third Season Caliper | Equal or slightly thicker trunk diameter | Equal or slightly thinner trunk diameter |
| Shipping Weight | 1 to 3 pounds per dormant whip | 20 to 45 pounds per potted tree |
| Planting Window | Restricted to late winter / early spring | Broad (spring through mid-autumn) |
Common mistakes to avoid
We see several repeatable errors that shorten the lifespan of young fruit trees, regardless of which stock type you pick. Keeping these common missteps in mind will save you time and replanting costs down the road:
- Letting bare-root fibers dry out: Even ten minutes of exposure to direct sunlight and spring winds can kill the delicate fine root hairs on bare-root stock. Keep your trees bundled in damp burlap or wrapped in a wet tarp until the exact moment you place them in the planting hole.
- Burying the graft union: Setting any fruit tree too low invites crown rot and allows scion rooting. Keep the swelling where rootstock meets scion clearly visible above the soil line.
- Leaving container roots untreated: Planting a root-bound potted tree without scoring or untangling circling root strands almost guarantees poor drought tolerance and structural instability four or five years later.
- Adding rich amendments to the planting hole: Mixing bags of potting soil, peat, or heavy manure into your planting hole creates an artificial container effect in the ground. The roots will stay inside the amended pocket rather than pushing through into your native orchard soil. Always backfill with straight native soil taken directly from the hole.
- Over-fertilizing newly set trees: Dumping synthetic granular nitrogen directly onto the roots of a young transplant burns delicate root tips. Wait until your trees show four to six inches of active new green growth before applying light topdressings of compost or balanced organic fertilizer.
Practical next steps for your orchard
Before placing an order for the upcoming season, take an afternoon to walk your orchard ground and assess your physical planting site. Use a post-hole digger to check your soil depth and dig a test hole twelve inches deep. Fill that hole with water to test drainage; if the water sits for longer than twelve hours without draining away, you need to address subsoil compaction or choose raised planting mounds before bringing any trees home.
Next, map out your planting dates against your local climate. If you have the time set aside in late winter and feel comfortable handling dormant whips, bare-root stock provides the most economical way to establish a uniform, well-anchored block of fruit trees. If your spring schedule is unpredictable or you are adding just one or two specimen trees to an established home garden during the summer, container trees provide the planting flexibility you need.
If you encounter complex soil layers, rocky hardpan, or severe pest and disease histories on your property, get in touch with your local university extension office. Their agricultural agents can offer specific cultivar and rootstock recommendations suited to your county soil surveys and chill-hour averages, ensuring your chosen stock thrives from day one.