 Greenland Orchard Journal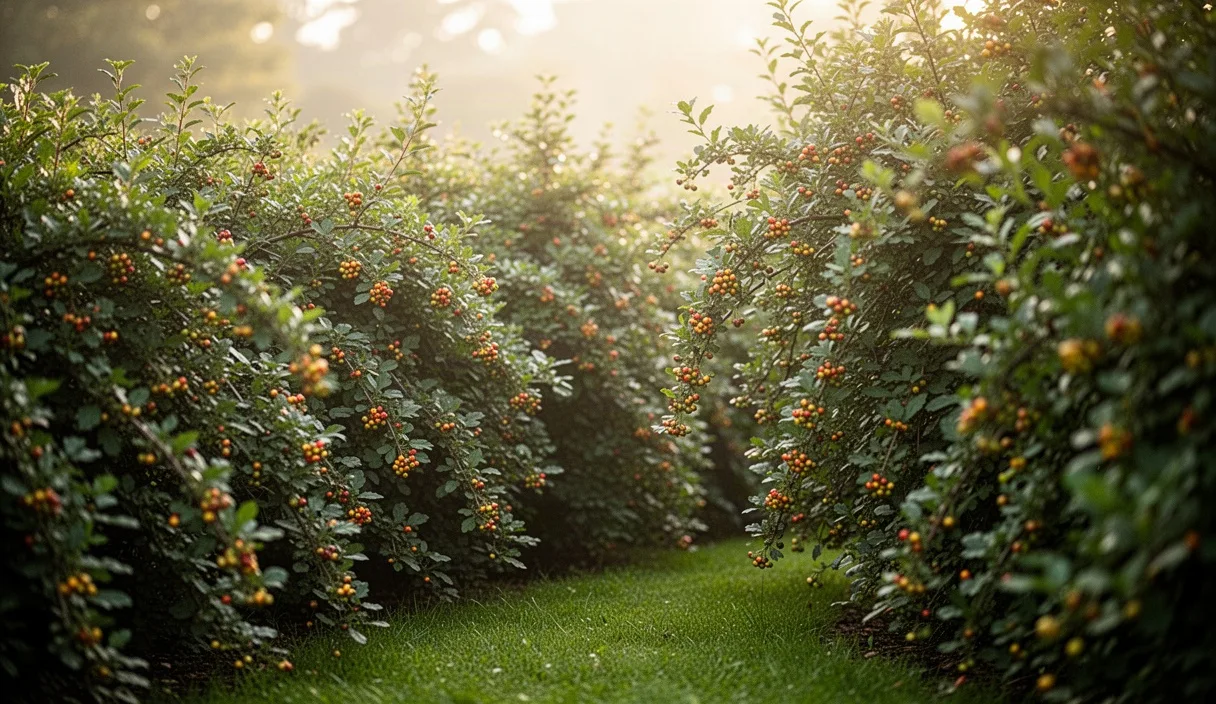
When most people think about putting up a privacy hedge, their minds jump straight to cedar, privet, or arborvitae. Those evergreens do the job of screening the road or the neighbors, but they ask for routine clipping without offering much in return. On our farm, we prefer hedgerows that work harder for the homestead. Setting out a thick line of fruit and berry seedlings gives you a handsome screen through the warmer months, plenty of spring blossom, and buckets of fruit for pies, cordials, and preserves by late summer.
Starting with small seedlings or bare-root whips takes a little patience, yet it saves a substantial amount of money compared to buying nursery shrubs in large containers. Seedlings adapt quickly to native ground soil, build deep anchor roots, and knit their lower branches together naturally. With a practical planting plan, consistent water during the first two summers, and sensible pruning, you can turn a bare property line into an abundant living wall within four or five growing seasons.
Selecting upright berry and stone fruit bushes
A good privacy hedge needs height, reliable branch density, and an upright habit. If a bush tends to spread outward like a bramble or flop flat under heavy rain, it will spill across lawns and driveways instead of forming a tidy barrier. When we select varieties for hedge plantings, we look for plants that grow at least six feet tall, tolerate periodic clipping, and push strong shoots from the lower crown.
Stone fruits grown on their own roots or as wild-type seedlings are exceptional candidates. Nanking cherry (Prunus tomentosa) is one of our top choices. It grows vigorously to seven or eight feet, carries fragrant pinkish-white blossoms in early spring, and produces tart scarlet cherries by June. Wild American plum (Prunus americana) is another tough native that forms a dense, thorny thicket that deters deer and trespassers while yielding sweet-tart fruit for jams.
For dark berries, Aronia (black chokeberry) and Saskatoon serviceberry (Amelanchier alnifolia) offer stiff, vertical growth that stays tidy with minimal intervention. Elderberry can also work well in moist soil, though it requires heavier renewal cuts to keep the lower stems from looking bare in winter. Mixing two or three compatible species adds resilience against pest outbreaks and staggers your picking window across several months.
| Species | Mature Height | Seedling Spacing | Primary Hedge Quality |
|---|---|---|---|
| Nanking Cherry | 6 to 8 feet | 24 to 30 inches | Dense lower branching, heavy early bloom |
| Saskatoon Serviceberry | 8 to 12 feet | 36 to 42 inches | Narrow upright habit, sweet fruit like blueberries |
| Aronia (Chokeberry) | 6 to 8 feet | 28 to 36 inches | Stiff vertical canes, brilliant autumn foliage |
| American Plum | 10 to 14 feet | 36 to 48 inches | Spur branches form an impenetrable barrier |
| Sea Buckthorn | 8 to 12 feet | 30 to 36 inches | Fierce thorns, fixes nitrogen in poor gravels |
Trench planting methods for dense hedge growth
When you plant standalone orchard trees, you dig wide individual holes. When you plant a fruiting hedge, digging a continuous trench is far better. A trench breaks up compacted subsoil across the whole line, giving roots an unobstructed corridor to grow into one another. This shared root space creates an unbroken underground network that distributes soil moisture and nutrients evenly down the row.
Mark out your line using two sturdy wooden stakes and a tight run of mason string. Strip away the top ribbon of sod using a flat spade, keeping it aside to shake out the loose topsoil. Dig the trench 18 inches wide and roughly 14 to 16 inches deep. Shovel the excavated topsoil into your wheelbarrow or onto a tarp laid beside the trench. If your subsoil has heavy clay or hardpan, loosen the bottom of the trench with a digging fork without inverting the soil layers.
Blend three to four inches of aged leaf mold or well-rotted barnyard compost into the excavated soil pile. Avoid using high-nitrogen bagged manures or fresh poultry litter, which can scorch the delicate fine roots of young seedlings. Shovel a small amount of the mixed soil back into the bottom so the seedlings sit at the precise depth they grew in the nursery bed. You can easily spot the original ground line by the subtle color shift on the young stem.
- Hydrate the seedlings by soaking their bare roots in a bucket of pond or rain water for two hours before planting, keeping them out of direct sunlight.
- Set the central leader upright in the trench, spreading the root strands outward rather than bunching them together into a tight ball.
- Backfill the improved soil around the roots in layers, tamping gently with your gloved hands or the flat of your work boots to remove large air cavities.
- Build a low three-inch soil berm along both sides of the trench to create a shallow water basin that holds moisture right over the root zone.
- Soak the entire trench thoroughly with a slow hose until water stands momentarily in the basin, settling the dirt firmly around every root fiber.
Formative trimming to encourage thick branching
The hardest task for most gardeners is cutting back healthy young seedlings right after planting them. If you leave a one-year-old whip alone, it will race toward the sky, producing a spindly stem with leaves and fruit only at the top five feet. Your eye will look right through the bottom half of the hedge, defeating the goal of privacy. We want bushy, interlocking branches starting right at the soil line.
Immediately after planting in late winter or early spring, head back each seedling by roughly one-third of its total height using sharp hand bypass pruners. Make each cut a quarter-inch above an outward-facing bud at a slight angle. This cut interrupts apical dominance, which is the plant's hormonal habit of sending all its energy to the topmost tip. Lower dormant buds will break into vigorous side shoots, building that low structural mesh you need.
In the second spring, trim the previous season's new vertical shoots back by a quarter to double the branch count again. Always shape the sides of the hedge with a slight inward slant, often called a batter. The base of the hedge must remain wider than the top crown. If the upper growth spreads wider than the bottom, it casts a deep shadow over the lower branches. Over two or three seasons, shaded bottom foliage dies back, leaving bare wood where you most want dense greenery.
By year three or four, shift from heavy heading cuts to light summer maintenance. Trim fast-growing water sprouts right after the spring flush finishes in early summer. If you trim lightly during midsummer, the plants develop fruiting spurs on older interior wood while retaining their tidy exterior profile.
Managing root competition along boundary lines
Placing any perennial planting near a property boundary introduces real-world variables. Neighboring lawns, existing boundary trees, and paved roads all compete for moisture and soil volume. Before digging any trench, it is wise to consult a licensed surveyor or review your local plot map to confirm exact property lines, as well as municipal setback ordinances for living fences. Some townships treat a dense hedge as a fence structure if it exceeds six feet in height.
If your hedge borders an aggressive lawn, turf grass will steal a surprising amount of water and nitrogen from shallow-rooted berry seedlings. Install a physical root barrier or a clean edge along the garden side. A six-inch strip of thick plastic edging or a simple, deeply cut spade trench keeps grass stolons out of the planting zone. Keep a four-foot-wide strip down the hedge line clear of sod, covering the soil with four inches of coarse wood chips or shredded bark.
Keep the wood mulch pulled back three inches from the seedling bark. Piling mulch against green stems invites rodent damage during snowy winter months, as voles love to chew through tender cambium layers under the snowpack. For locations near large neighboring trees, like mature maples or oaks, dig down with a sharp trenching spade every second autumn along your property line to sever encroaching tree feeder roots before they drain your fruit bushes dry.
Harvesting along a clipped hedge line
A clipped fruit hedge behaves differently than an unpruned orchard bush. When you shear plants with electric trimmers, you inevitably slice off some flower buds. Berry and stone fruit bushes form their blossoms either on the previous year's wood or on short, stubby perennial spurs. To harvest plenty of fruit while keeping your hedge dense and clean, you must manage how and when you prune.
Instead of shearing the hedge flat like an industrial boxwood, prune selectively with sharp bypass shears. Reach into the hedge to remove thick, unproductive old canes down near ground level, leaving the young two- and three-year-old wood that bears the heaviest crop. This renewal pruning keeps fresh fruiting wood cycling through the middle of the canopy where the fruit stays sheltered from heavy winds and direct sunscald.
Picking along a linear hedge row is remarkably convenient compared to wandering through scattered bushes. The fruit hangs right at chest and eye level along the perimeter. When berries begin to color, drape lightweight bird netting directly over the clipped hedge. Because the outer foliage forms a relatively smooth, sheared face, the netting rests neatly on the exterior without snagging deep inside the plant crowns, making it simple to lift away when harvest morning arrives.
Common mistakes
- Shearing straight vertical walls: When the top of the hedge matches the width of the bottom, sunlight cannot strike the base, causing the bottom twenty inches of foliage to drop off over time.
- Overusing high-nitrogen fertilizers: Heavy synthetic feeding causes long, watery shoots with wide node spacing. This creates weak branches that snap under heavy fruit or snow loads and attracts aphids.
- Planting too close to a hard fence: Planting seedlings within twelve inches of a solid wooden or chain-link fence prevents airflow, encourages powdery mildew, and makes harvesting the far side impossible. Leave at least three feet of space between your hedge centerline and any permanent fence.
- Pruning in late autumn: Cutting stems late in the season stimulates soft growth that cannot harden off before the first killing freeze, leading to split wood and winter dieback.
Practical next steps
Building a fruitful boundary takes an afternoon of planning before you lift a single shovel of earth. Start by pacing off your boundary line to find the exact linear footage. Divide that distance by the recommended seedling spacing to determine how many rootstocks or bare-root whips you need to purchase for the row.
Next, perform a simple soil percolation test. Dig a hole twelve inches deep, fill it with water, and monitor how long it takes to drain completely. Most stone fruit and berry seedlings thrive in moist, well-draining soil, but they will rot if their roots sit submerged in standing water for days on end. If the water drains slower than an inch per hour, plan to mound your trench soil into a raised berm to protect the young root systems.
Order your seedlings during late autumn or midwinter from a reputable regional nursery that specializes in conservation bundles or bare-root orchard stock. Bundles of twenty-five seedlings are remarkably economical and give you uniform stock. When the delivery box arrives during early spring dormancy, prepare your trench immediately and get those roots into cool, damp ground.