 Greenland Orchard Journal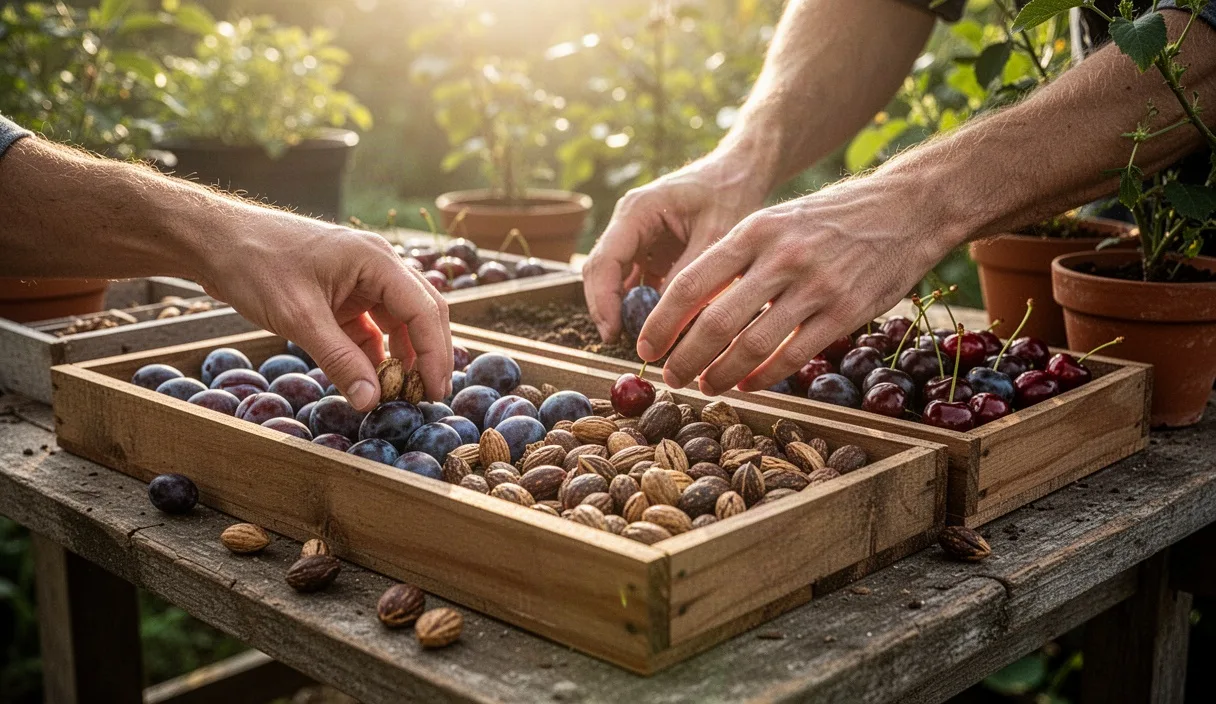
Every summer here at the orchard, we collect tens of thousands of pits from our heirloom peaches, European plums, and tart cherries. If you have ever tossed a handful of stone fruit seeds straight into garden soil in autumn, you probably noticed that the results can be frustratingly uneven. Some pits send up vigorous shoots by early April, while others sit inert in the dirt or rot away completely before the shell ever splits open. When you are planting rootstock for a long-term orchard row, guessing simply takes up too much bed space and nursery time.
Calibrating your pits before they enter winter stratification changes that entirely. By measuring shell density, checking hydration, and managing moisture with precision, you can filter out dead wood long before you mix your potting soil. We treat this process as an essential winter chore in our seed room. It takes a digital scale, a clean bucket of well water, and a bit of patience, but it ensures that the energy you spend next spring goes directly to the seedlings with genuine orchard potential.
Sorting pits by weight and shell density
A stone fruit pit is not a single seed. It is an endocarp, a woody outer casing, protecting the true botanical seed, or embryo, nestled within. In wild seedling populations and open-pollinated orchard blocks, pit size varies dramatically even across fruit picked from the exact same tree. A thick, heavy shell often signals a well-nourished kernel, but abnormally large pits can sometimes harbor shriveled or hollow interiors caused by drought stress during the pit-hardening period in late July.
We begin calibration by dry-sorting our harvest once the pulp has been completely scrubbed away and the outer shells have air-dried on wire racks for three or four days. You want a small digital kitchen scale that reads to a tenth of a gram. Set a clean tray on the scale, tare it to zero, and sample your collection in small batches. When you sort by physical weight, you quickly spot the difference between healthy density and hollow weightlessness.
Over the years, we have recorded typical weight ranges for clean, air-dried pits that reliably hold viable kernels. The table below outlines what we look for before moving pits into the soaking stage:
| Stone Fruit Variety | Light / Cull Weight | Target Viable Range | Shell Characteristics |
|---|---|---|---|
| Standard Peach (Lovell type) | Under 2.8 grams | 3.4 to 5.2 grams | Deeply furrowed, uniform seam closure |
| European Plum (Damson type) | Under 0.7 grams | 0.9 to 1.6 grams | Smooth, flattened edge, no hair cracks |
| Sweet and Sour Cherry | Under 0.18 grams | 0.24 to 0.38 grams | Round, pale cream to tan, hard wall |
| Hardy Apricot | Under 1.2 grams | 1.5 to 2.4 grams | Broad oval, distinct lateral ridge |
Discard any pit that feels feather-light in your fingers or falls below the lower threshold in that chart. In our experience, pits under those weights contain either an aborted seed or an unfertilized ovule that will decompose during cold treatment. Inspect the suture line along the edge as well. Any pit with a split suture or mechanical nick from harvest tools should be pulled out immediately, as these openings give opportunistic blue molds a direct pathway into the fat reserves of the seed.
The water float test for dormant pits
Once you clear out the physically underweight stock, the water float test serves as a simple second filter. This traditional test works because a fully developed seed kernel fills the interior cavity of the pit, leaving almost no air space between the kernel surface and the inner shell wall. If the kernel within withered during summer heat or died during drying, an air pocket remains trapped inside the chamber, causing the pit to float to the surface of a water container.
Fill a deep food-grade bucket with room-temperature tap water or fresh rainwater. Do not use softened water, as the sodium salts can inhibit sensitive stone fruit embryos. Drop your weighed pits into the water and stir them gently with a wooden paddle for roughly thirty seconds to break any surface tension or air bubbles clinging to the rough exterior furrows. Let the water settle for fifteen minutes.
- Sinkers: These settle firmly against the bottom of your bucket. They carry full, dense embryos and have solid, intact shells. These represent your prime orchard candidates.
- Slow sinkers: These drift near the lower half of the bucket or stand upright on their tips. Give them an additional two hours of soak time; if they finally drop to the floor, keep them in a separate trial batch.
- Floaters: Pits bobbing on the water surface or floating just beneath it should be skimmed off and composted. Cracking a few open with a bench vise will confirm that the internal seeds are papery, blackened, or completely absent.
Do not leave your good pits submerged indefinitely. A soak of 12 to 24 hours is helpful to rehydrate the internal tissues, but leaving them submerged past 36 hours deprives the live embryo of oxygen and can initiate anaerobic rot before stratification even begins. Drain the sunken pits thoroughly in a colander as soon as the soak concludes.
Cold stratification without mold risks
Stone fruits require a prolonged period of chilling temperatures and damp conditions to break internal seed dormancy, a survival mechanism known as cold stratification. In nature, winter rains and snow provide this, but natural ground conditions also expose seeds to hungry rodents, variable thaw cycles, and fungal spores. Controlling the environment in a dedicated refrigerator or cold cellar between 34 and 38 degrees Fahrenheit produces far more dependable stands.
The primary hazard during stratification is mold, particularly species of Penicillium and Botrytis that thrive in stagnant, damp air. Cleanliness at the start determines your loss rate. We rinse our drained pits in a mild 3% hydrogen peroxide wash for ten minutes, drain them clean, and let them dry just until the shell exterior looks matte rather than dripping wet. The moisture must reside inside the wood of the pit, not pooling on its surface.
Preparing the stratification substrate
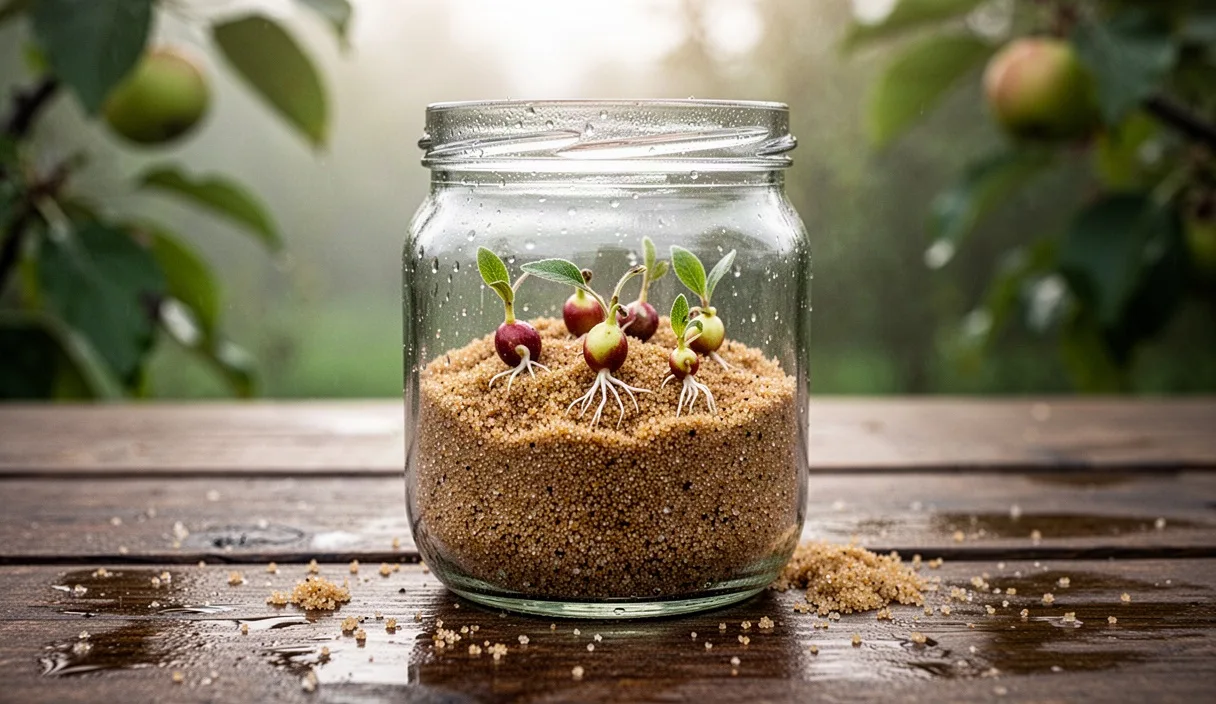
The bedding material you choose should hold moisture without collapsing into a dense, soggy paste. Coarse horticultural vermiculite or washed silica sand works far better than rich potting soil or unsterilized peat moss.
- Moisten your chosen vermiculite with boiled, cooled water until a handful pressed together forms a loose ball that crumbles easily when touched, releasing no free drops of water between your fingers.
- Blend the calibrated pits with the substrate at a ratio of one part pits to roughly three parts damp vermiculite.
- Pack the mixture loosely into heavy-duty plastic freezer bags or perforated food containers. Do not seal the bags airtight; leave an opening of about one inch at the zipper corner so atmospheric gases can exchange naturally.
- Label each container clearly with the fruit variety, the date packed, and the targeted removal date based on that variety's specific chilling requirement.
Peaches and nectarines generally require between 65 and 90 days of chill, while apricots can wake up in as little as 45 days. European plums often need 90 to 120 days. Check your bags once every seven days. If condensation runs down the inside of the plastic in heavy sheets, leave the container open for an afternoon to shed excess moisture. If the vermiculite feels dry to the touch, mist it lightly with a hand sprayer filled with clean water.
Spotting weak embryos before planting out
As your stratification time draws to a close, healthy pits begin to swell and split naturally along their seams. This is the moment to inspect the emerging embryo before you commit bench space or field soil to its care. Not every seed that cracks its shell possesses the vigor needed to survive as a seedling.
Look closely at the radicle, which is the primary embryonic root emerging from the pointed tip of the seed. In a high-vigor seedling, this root tip is creamy white or pale ivory, firm to the touch, and moves outward with a blunt, tapered point. The hypocotyl, the tiny stem directly behind the root, should show clean cellular structure with no watery brown bruising.
Set aside any seeds displaying the following defects:
- Glassy or translucent tissue: Roots that appear water-soaked or clear have suffered cellular freeze damage or lack of oxygen during chill. They almost always collapse within forty-eight hours of exposure to warmth.
- Brown tip necrosis: A dark brown or black speck right at the apex of the primary root shows that fungal pathogens have already colonized the growth point. While the seed may push secondary lateral roots later, growth will remain stunted.
- Twisted or circling radicles: If the primary root has curled inside the shell into a tight knot rather than pushing straight out through the suture, the young taproot will remain permanently deformed.
- Loose cotyledons: If the two halves of the seed kernel fall apart during handling, the embryonic axis has separated from its food store. Discard these immediately.
By screening for these visual markers, you avoid nursing seedlings that would struggle through their first summer only to collapse when midsummer heat puts demand on their root systems.
Transplanting the early germinators
Because stone fruit pits wake up at different rates over several weeks, you will need to transplant in rolling shifts rather than doing the entire lot on a single afternoon. When you check your bags and spot seeds with roots measuring between a quarter-inch and one inch long, those individuals must be moved into potting medium right away. Waiting until roots grow three or four inches long inside the bag leads to broken root tips during handling.
Stone fruits send down a strong, deep taproot almost immediately. For this reason, shallow seed flats are inappropriate. Use deep nursery containers, such as tree bands or deep plugs that offer at least seven to nine inches of soil depth. These tall containers encourage the taproot to run downward straight and unhindered, which sets the foundation for drought resilience once the tree moves to the permanent orchard line.
Fill your containers with a fast-draining, soil-free potting mix composed of fine pine bark, perlite, and a modest amount of peat. Avoid heavy compost in this first phase, as high nitrogen levels can burn soft new feeder roots. Make a hole in the center of the pot with a clean dowel or your finger, deep enough to take the entire root length without bending it upward into a j-shape. Set the pit so the seed kernel sits roughly one-half inch below the soil surface, with the emerging root pointing straight down.
Firm the potting mix gently around the seed to eliminate large air pockets, and water the container thoroughly with room-temperature water until liquid runs freely from the bottom drainage holes. Move the potted containers to a bright spot with good air circulation where temperatures stay consistently between 62 and 68 degrees Fahrenheit. Keep the surface soil evenly moist, but never soggy, and expect green shoots to emerge within seven to fourteen days.
Common mistakes to avoid
Over the seasons, we have seen several recurring missteps that cost growers their best seed stock. Being aware of them will save you both time and seed loss:
- Cracking shells with heavy hammers: While cracking hard pits can speed up water absorption, blunt force often bruises the delicate embryo hidden inside. If you choose to mechanically open shells, use a gradual hand vise or heavy-duty nutcracker with adjustable stops rather than a direct strike.
- Stratifying in unvented, waterlogged media: Pits need oxygen while they rest in the cold. Sopping wet sand suffocates the embryo and breeds anaerobic bacteria that rot the seed from the inside out.
- Waiting for leaves to sprout in the fridge: If your pits develop green cotyledons or long yellow stems while still in the stratification bag, they have spent too long in the cold. Watch for root emergence, not leaf growth, as your signal to pot.
- Placing fresh transplants under intense heat: Moving a newly sprouted pit directly from a 36-degree refrigerator into an 85-degree greenhouse causes thermal shock. Transition them through intermediate room temperatures under moderate lighting first.
Practical next steps for your seed lot
If you have stone fruit pits on hand from this past season, gather your supplies this week. Inspect your pits on a clean table, discard anything with split seams or lightweight hulls, and run your float test in a fresh bucket of water. Getting your stratification started by early to mid-winter ensures your seeds satisfy their internal chill clock just as spring light levels begin to climb in March.
Keep a simple notebook on your potting bench to track variety names, chill start dates, and germination dates. Stone fruit genetics vary widely, and your own notes will tell you far more about your local seed lines than any generalized manual. If you plan to scale up to commercial quantities or graft specialized scion wood onto your seedlings next summer, consulting your local county agricultural extension office can provide valuable regional data on viral screening and compatible rootstock traits for your specific soil type.